Monetize your Hugo Website with Google Ads
 Online ads.
I have recently ventured into the world of Online advertising in my current role at Carousell . Online advertising has always intrigued me. During my days at Yahoo! , I used to hear about ads ranking, auctions, bidding, etc. from the teams who worked on ads. However, I never got a chance to work on it until only recently.
Disclaimer: Ads as a topic is interesting, but honestly, sometimes it is irritating. I do use ad-blockers to ensure I do not see ads on websites I visit. I think they create a bad web browsing experience in general 😄
Being inquisitive about ads, I wanted to see how easy it is to set up ads on your own website. I maintain my homepage using the hugo-academic template. I cannot recommend it enough to maintain your online portfolio. For details on how to set up, please visit this page .
One thing to note is that, due to this template, there is some additional complexity when incorporating Google Ads (coz all the content is Markdown 😌 and not HTML).
In this article, I will cover details of how I set up ads on my website (and focus mostly on the settings in the hugo-academic template.)
Steps
- First and foremost, you need to have a Hugo-based website. If your website is in regular HTML, then follow the instructions here . It usually takes a few days before Google approves your site and then ads should show up.
For a regular HTML based website, ads should get enabled easily. However, if you have a website in a hugo (like I do!), please read on.
For hugo sites, it is recommended to use Netlify and your hugo codebase (template resources + content) should be available as a git repository.
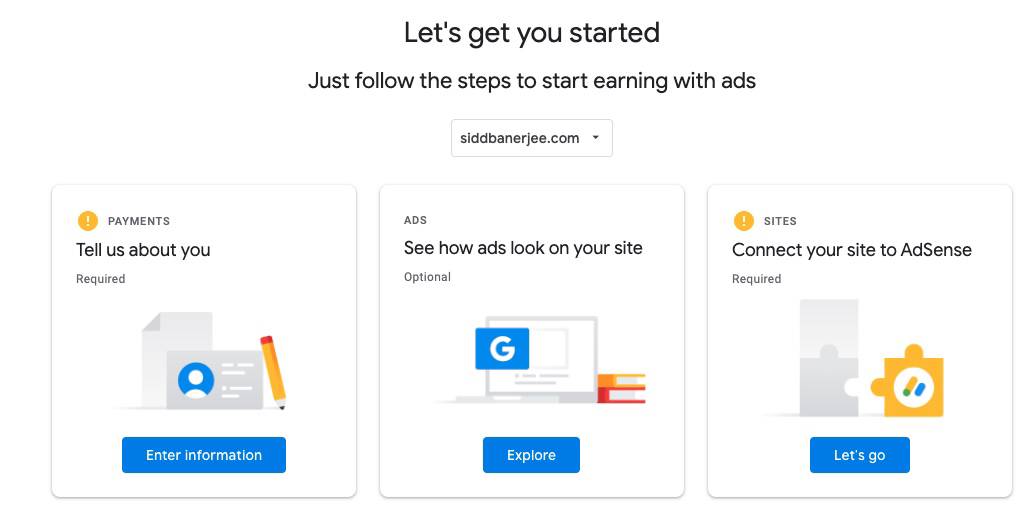
- Go to Google Adsense and click on “Get started” and then login. You should see a screen similar to the one here.
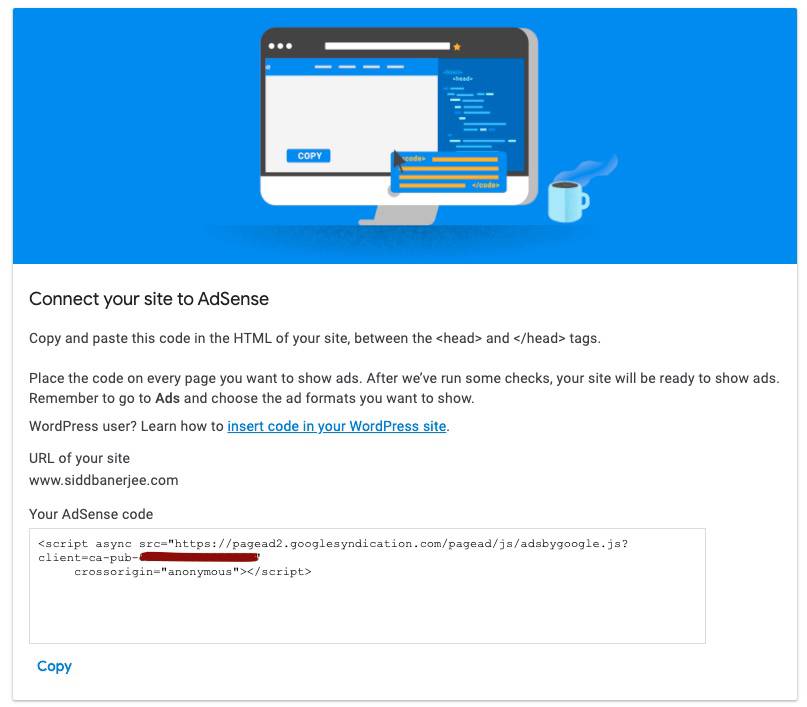
- When you click the on the final box above, you will see the following screen. Copy the code.
Create a folder called
googleinsidethemes/academic/layouts/partials/. Then, add a file calledads.html. Paste the code copied in the step above in this file. Nothing else to be added.Then, go to
themes/academic/layouts/partials/site_head.htmland add{{ partial "google/ads" . }}as a line to the file. This basically tells hugo to automatically pick the content in theads.htmlfile and add it to the site header during compilation. The file should look something like the following:
<meta name="viewport" content="width=device-width, initial-scale=1">
<meta http-equiv="X-UA-Compatible" content="IE=edge">
<meta name="generator" content="Source Themes Academic {{ site.Data.academic.version }}">
{{ partial "google/ads" . }}
{{ $scr := .Scratch }}

{{/* Attempt to load superuser. */}}
Commit all the changes to your repository (and Netlify should update your website automatically.)
- The final step is …..
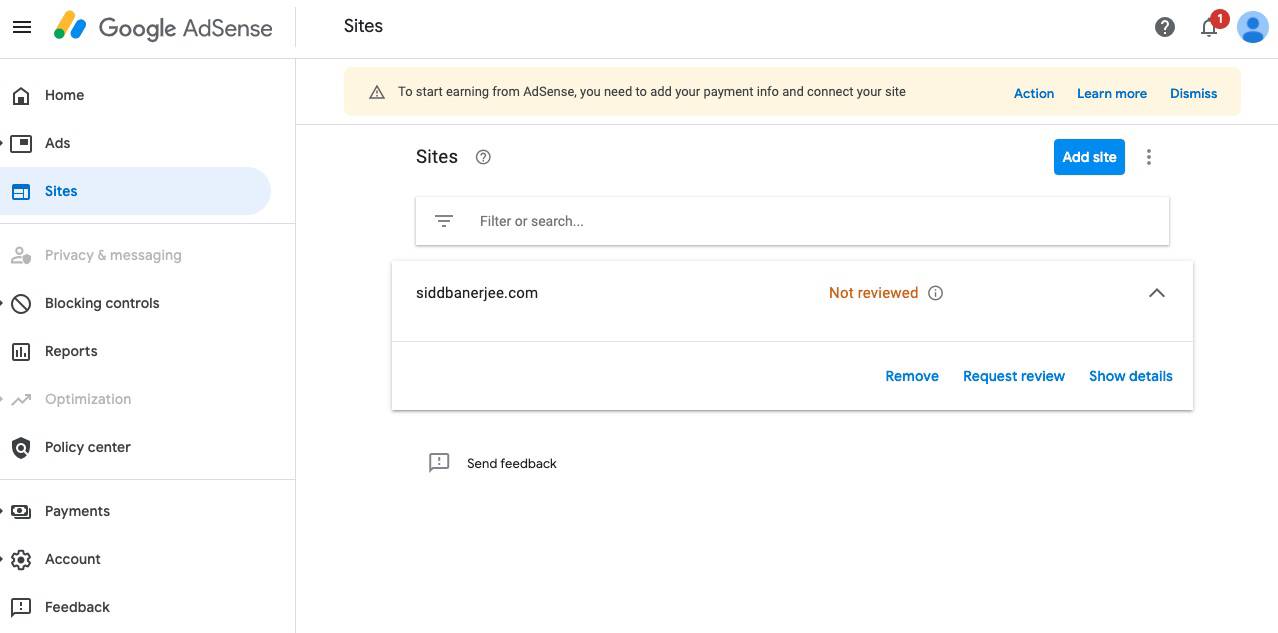
Requesting Google to review your website. Assuming all of your settings are validated and there are no errors in the configurations, you should see the following. Voila!
Note that it takes a few days for Google to approve your request.
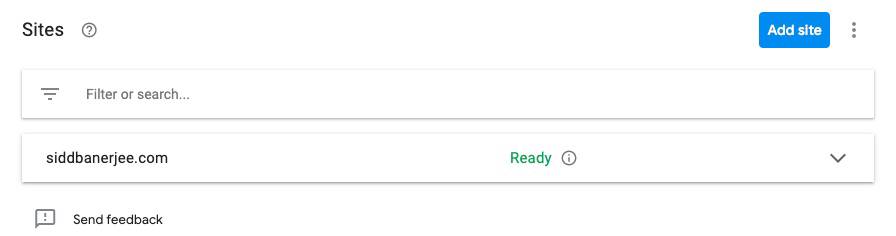
Once it shows up as ready on your Adsense console, it means that now your website is ready to show ads. For example, when I go to siddbanerjee.com , I see the following screen. Yes, I do see some ads when I scroll.

Assuming your website gets some traffic, you should see some earnings reflected on your Google Adsense account within a day or two. Click on Home on the left bar of the Google Adsense console.
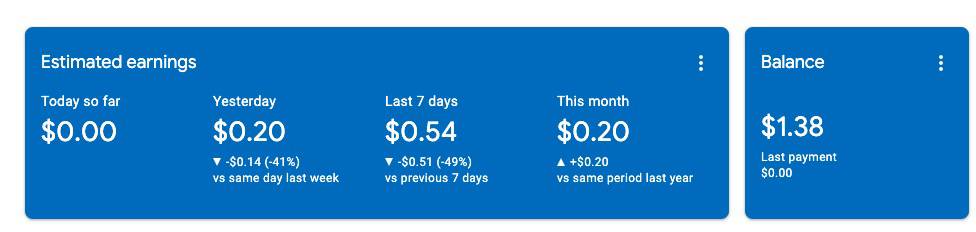
Yay! Some peeps are visiting my webpage and also clicking on ads.
So, now you know how to monetize your homepage with Google Adsense.
Please do reach out if you have any questions/comments via the comment box below. And thanks for reading.
Siddhartha Banerjee
Ph.D., Applied ML Scientist
My interests include Natural Language Processing and Machine Learning. Also, I love to travel, hike, run, sketch and explore new dishes.